
Configuration
Bot Configuration
Configure Apex Automation to match your system setup and preferences
1. Game Path Setup
Specify where the Call of Duty executable is located so the bot can launch and monitor the game.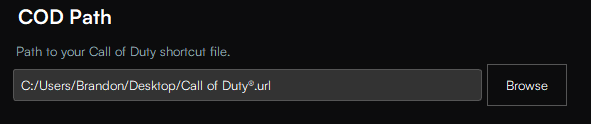
Navigate to the Apex Automation settings and locate the Game Path field. Use the file picker to select your Call of Duty shortcut or executable.
2. Start/Stop Hotkey
Assign a custom hotkey to quickly toggle the bot on and off during gameplay.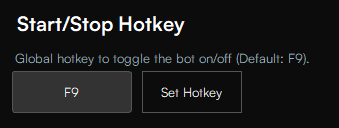
Choose a hotkey combination that doesn’t interfere with in-game actions. Modifier keys like
Ctrl, Alt, or Shift are recommended.3. Game Mode Selection
Select the desired game mode (e.g., Prop Hunt, Plunder, Battle Royale). The bot will automatically queue into this mode using in-game navigation.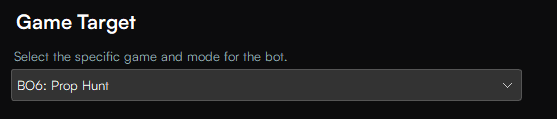
4. Squad Fill Option
Enable this if you want the bot to automatically disable Squad Fill, allowing you to solo queue in modes like Resurgence or Battle Royale.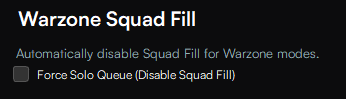
This is useful for minimizing variables during automation and improving consistency.
5. Prestige Handling
When enabled, the bot will automatically enter the next Prestige when you reach the max level, allowing it to continue earning XP without user intervention.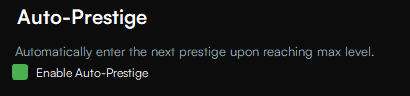
6. Loadout Cycling
The bot can automatically rotate through loadouts between matches, helping you level up more weapons per session.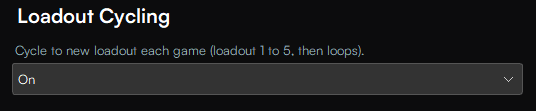
This is especially powerful when grinding camo challenges or trying to level up multiple weapons efficiently.